
The Art of Furniture Sanding and Finishing: Crafting Flawless Surfaces
Why Sanding Defines the Quality of Finishing
Sanding is a critical step in furniture finishing, directly shaping the final appearance and durability. Exceptional sanding lays the groundwork for a superior finish, offering the following benefits:
- Surface Imperfection Removal: Eliminates burrs, rust, oil, and dust from wood surfaces, ensuring a clean base for coating.
- Enhanced Surface Smoothness: Post-putty surfaces often feel rough; sanding creates a smooth, even texture.
- Improved Coating Adhesion: Smooth surfaces reduce coating adhesion; sanding enhances mechanical bonding for lasting finishes.
Sanding is integral throughout the finishing process—from preparing raw wood and applying putty to refining primer and topcoat layers. It’s a pivotal step in achieving a glossy, durable surface.
Essential Sanding Techniques
Achieving high-quality sanding requires skill and precision. Here are key techniques to master:
Select Appropriate Sandpaper Grits:
- Avoid overly coarse sandpaper or relying on a single grit.
- Never skip grit sizes (e.g., jumping from 200# to 600# or 800#), as this leaves visible sanding marks.
Sand Along the Grain: Always sand in the direction of the wood grain to prevent tearing or damaging the wood, ensuring a flawless finish.
Preserve Edges and Details: Sand corners and edges lightly to maintain their original shape—round or square. Decorative lines must remain straight, avoiding bending or breaking.
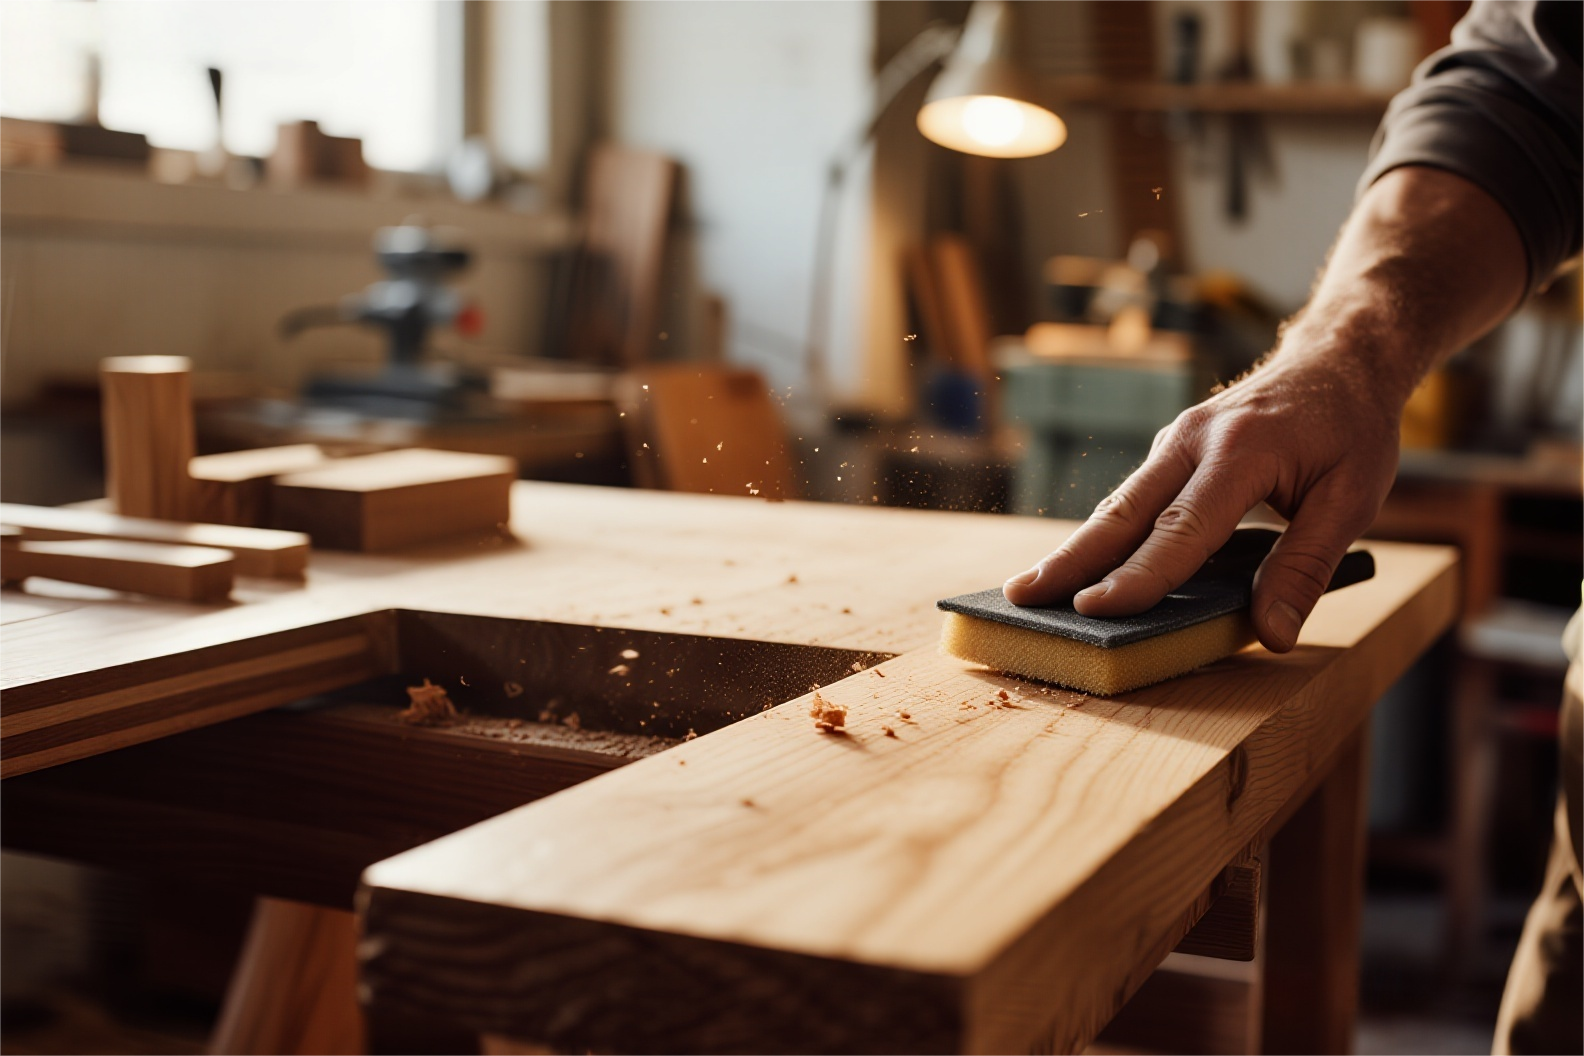
Proper Sandpaper Handling: Hold sandpaper with four fingers and the palm, securing edges with the thumb. For large surfaces, use a wooden block or soft pad, sanding along the grain.
Clean While Sanding: Dust from sanding can embed in wood grain; use a dry brush to remove debris continuously, ensuring a smooth surface.
Address Minor Damage: For scratches or dents, use hot water and an iron to restore the surface before sanding. Avoid localized sanding with fingers on large surfaces to prevent unevenness.
Curved Surface Sanding: For arched or curved pieces, use a matching template to hold sandpaper. When using electric or pneumatic sanders, follow the piece’s contours to avoid creating stepped surfaces.

Versatile Sanding Methods
Different workpiece characteristics and project needs call for varied sanding approaches:
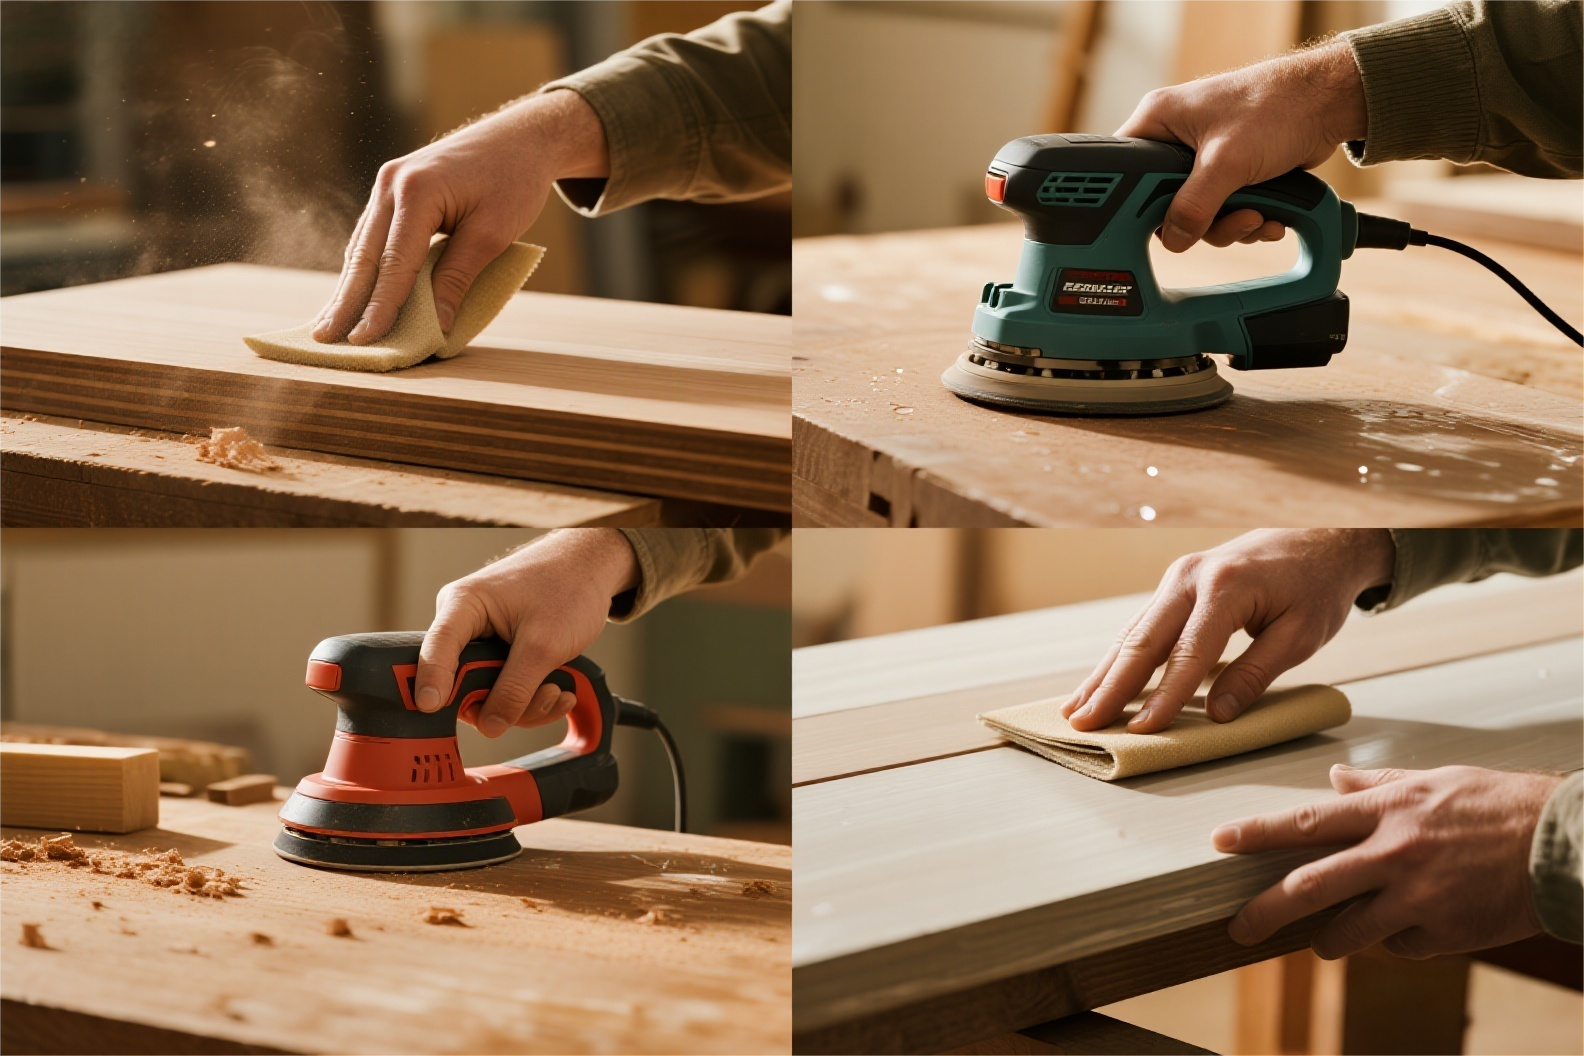
Dry Sanding: Uses sandpaper for hard, brittle coatings. Its downside is significant dust production, requiring attention to environmental cleanliness.
Wet Sanding: Involves water or soapy water with sandpaper to minimize marks and enhance smoothness, saving sandpaper and effort. Key considerations:
- Ensure the surface is fully dry before applying the next coat to avoid whitening.
- Avoid wet sanding on highly absorbent substrates.
Mechanical Sanding: For large areas, electric sanders (disc or orbital) boost efficiency but require careful control to prevent over-sanding.
Light Sanding: Certain scenarios, like sealing coats, recoating old finishes, or partial repairs, demand “light sanding” with fine sandpaper by skilled workers to avoid surface damage.
Sandpaper: Selection and Application
Choosing the Right Sandpaper Grit
The grit size significantly impacts sanding results. Select based on the process stage:
- Raw Wood Sanding: 180#–240# sandpaper
- Plywood or Initial Sanding: 220#–240# sandpaper
- Primer Smoothing: 320#–400# sandpaper
- Final Primer Coat: 600#–800# sandpaper
- Topcoat Polishing: 1500#–2000# sandpaper
Sandpaper Application Techniques
- Manual Sanding: Cut sandpaper into quarters, fold, and hold with thumb and pinky, pressing with the other fingers for even sanding.
- Adaptive Sanding: Adjust finger positioning for concave or convex areas and edges, ensuring precision.
- Large Surface Sanding: Use the highest point as a guide, pressing with the palm or a sponge/wood block for uniform pressure and flatness.
- Safety Note: Keep fingernails trimmed to avoid injury during sanding.
Causes and Solutions for Sanding Marks
Causes
- Sanding against the grain, damaging wood texture.
- Using overly coarse sandpaper or sanding before the coating dries.
- Slow-drying solvents delaying coating solidification.
- Thin topcoats failing to cover sanding marks.
- Incomplete cleaning post-sanding, leaving dust that hinders coating adhesion.
- Clogged sandpaper losing effectiveness, causing uneven marks.

Solutions
- Use appropriate grit sizes—coarser for initial sanding, finer for subsequent passes—to remove prior marks.
- Sand strictly along the grain to preserve wood integrity.
- Ensure coatings are fully dry before sanding and clean dust thoroughly.
- Inspect sandpaper for clogging and replace as needed.
- Adjust paint viscosity and ensure sufficient coating thickness to cover marks.
Conclusion
Sanding is the cornerstone of furniture finishing, defining both aesthetic appeal and coating longevity. By selecting the right sandpaper, employing effective methods, and honing techniques, you can elevate furniture quality significantly. Despite advances in automation, the precision and adaptability of manual sanding remain unmatched. Master these skills, and your furniture finishes will shine!
This post is also available in:


Leave a Reply
Want to join the discussion?Feel free to contribute!